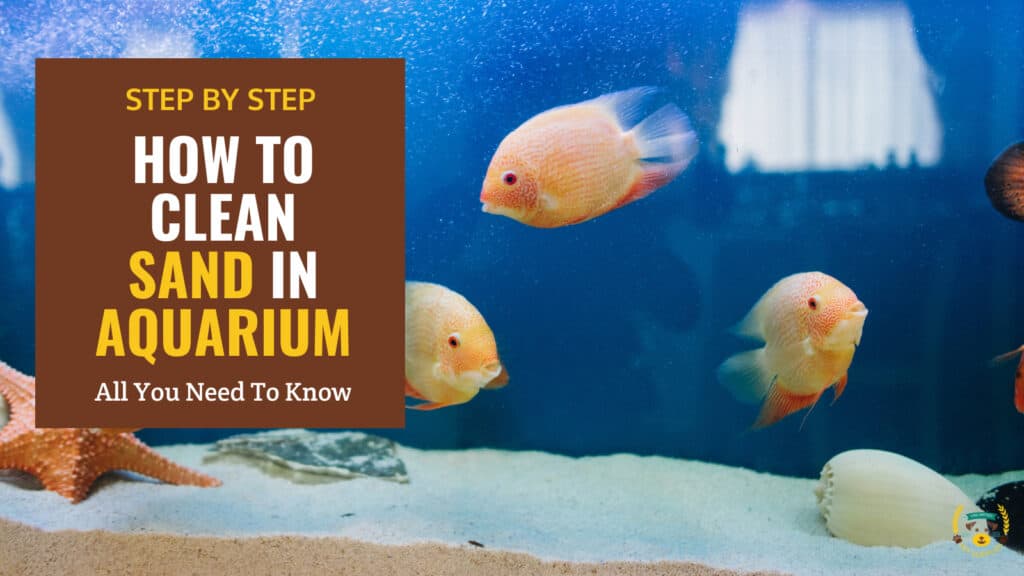
How To Clean Sand in Aquarium? Step By Step Guide
Last updated: March 29, 2025
Summary
Steps to clean sand from your aquarium:
- Gather tools (gravel vacuum, bucket, water, thermometer)
- Check water temperature and chemistry
- Move fish to a temporary container with aquarium water
- Lower water level by 25-30% and vacuum sand bed
- Refill with dechlorinated water at the same temperature
- Acclimate fish back to tank gradually
- Restart filter, heater, air pump
- Maintain a regular cleaning schedule
A well-maintained aquarium not only looks stunning but also ensures the well-being of your fish and other aquatic creatures.
Over time, debris, uneaten food and waste accumulate in the sand, potentially leading to harmful conditions. Regular sand cleaning prevents the build-up of toxic compounds, such as ammonia and nitrites, which can harm your fish. It also enhances the overall aesthetic appeal of your aquarium, allowing you to fully enjoy its beauty.
Our detailed guide will walk you through the process of cleaning your aquarium sand, providing a clear, step-by-step approach to ensure a successful cleaning session. By following these steps, you'll be able to keep your aquarium sand pristine and your aquatic life happy and healthy.
- 1) Preparing for Sand Cleaning
- 2) Cleaning the Aquarium Sand
- 3) Post-Cleaning Maintenance
-
4)
Frequently Asked Questions
- 4.1) What if the sand still looks dirty after cleaning?
- 4.2) How often should I clean my aquarium sand?
- 4.3) Can I use tap water for refilling the aquarium?
- 4.4) Is it necessary to remove all the fish during sand cleaning?
- 4.5) What are some signs that my aquarium sand needs cleaning?
- 4.6) How do I prevent sand from getting into my aquarium filter?
- 4.7) Can I use a regular vacuum cleaner to clean my aquarium sand?
- 4.8) What is the best type of sand for an aquarium?
- 4.9) How much sand should I use in my aquarium?
- 4.10) Can I clean my aquarium sand without removing it from the tank?
- 5) Final Thoughts
Preparing for Sand Cleaning
Before proceeding with the cleaning process, you need to gather the necessary tools and equipment. This preparation stage is critical to ensure a smooth and efficient cleaning session.
Gathering necessary tools and equipment
Here are the necessary tools you will need to clean your aquarium sand:
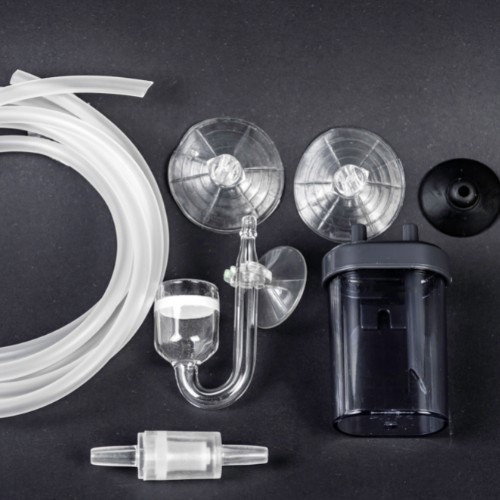
Gravel vacuum or siphon
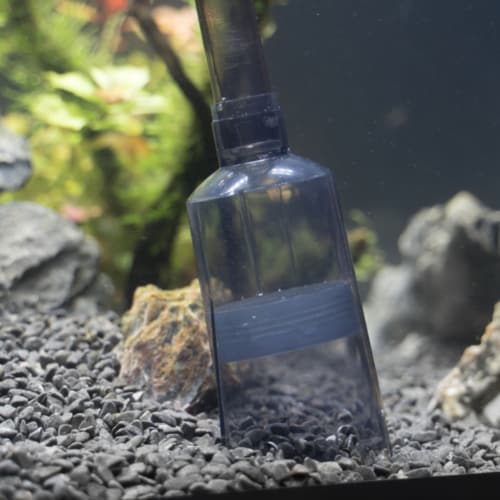
A gravel vacuum, also known as a siphon, is an essential tool for cleaning aquarium sand. It allows you to remove debris and waste from the sand bed without disturbing the aquatic environment too much.
Remember to choose a gravel vacuum that is appropriate for the size of your aquarium.
Bucket for waste water
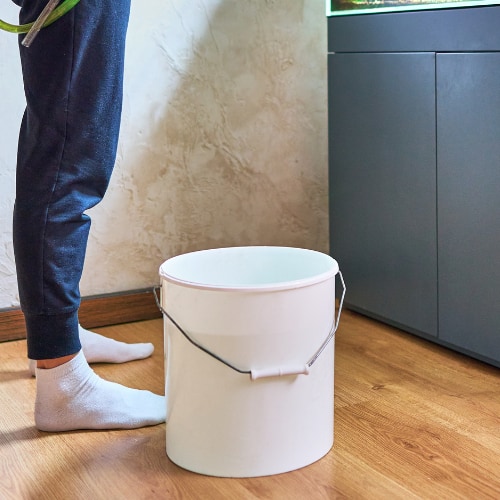
You'll need a dedicated bucket to collect the waste water and debris removed during the cleaning process.
Make sure the bucket is clean and hasn't been used for any other purpose that could introduce contaminants into your aquarium.
Replacement water
Have a supply of fresh, dechlorinated water ready to replace the water removed during cleaning.
The replacement water should be at the same temperature as the aquarium water to avoid stressing your fish.
Thermometer
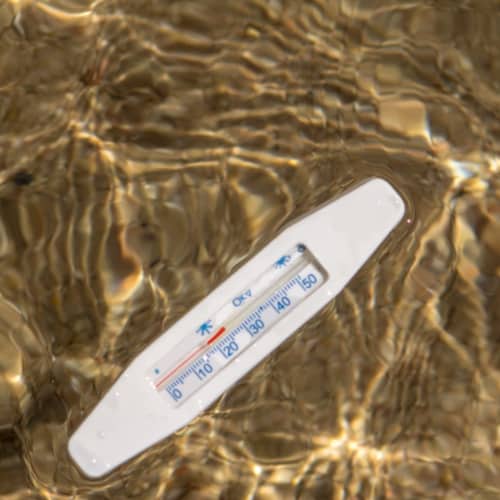
A thermometer is crucial for monitoring the temperature of both the aquarium water and the replacement water.
Sudden temperature changes can be harmful to your aquatic life.
Ensuring proper aquarium conditions
Before starting the cleaning process, check the temperature of your aquarium water. Ensure it is within the appropriate range for your fish species. If necessary, adjust the heater settings to maintain a stable temperature throughout the cleaning process.
Also, use an aquarium water test kit to check the pH, ammonia, nitrite, and nitrate levels in your tank. If any of these parameters are off, take steps to correct them before proceeding with the sand cleaning.
Improper pH levels can create stress and health problems for your fish. For guidance on lowering aquarium pH safely and naturally, refer to our guide on natural methods for lowering aquarium ph safely.
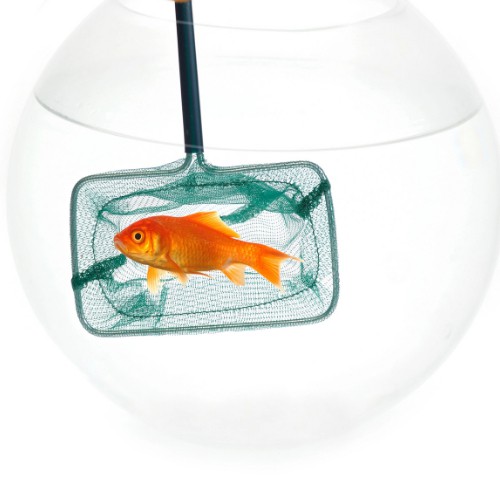
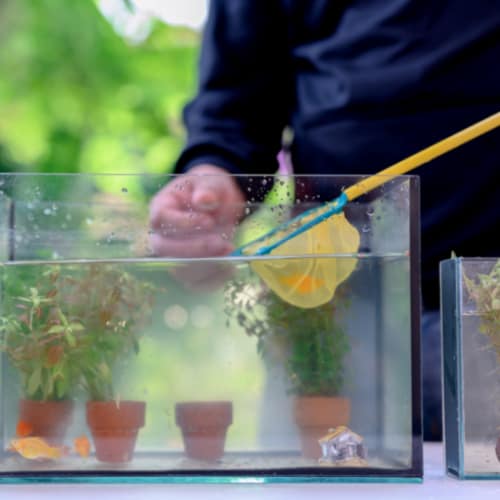
Temporarily relocating aquarium inhabitants
To minimize stress on your fish and other aquatic life during the cleaning process, it's best to remove them from the aquarium temporarily. Use a fish net to gently catch your fish and transfer them to a separate container.
Fill a separate container with water from your aquarium to house your fish during the cleaning process. This ensures they remain in a familiar environment and reduces the risk of shock from sudden water parameter changes.
Make sure the container has proper aeration and filtration if you plan on keeping your fish there for an extended period.
Cleaning the Aquarium Sand
With your tools ready and aquarium inhabitants safely relocated, it's time to start the sand-cleaning process. This section will guide you through the steps to effectively clean your aquarium sand, removing debris and waste without disrupting the delicate ecosystem.
Lowering the water level
Start by using your gravel vacuum or siphon to remove a portion of the aquarium water. Aim to remove about 25-30% of the total water volume, siphoning it directly into your designated waste bucket. This step not only makes it easier to access the sand bed but also allows for a partial water change, which is beneficial for overall aquarium health.
Be mindful not to remove too much water during this process. You want to leave enough water to keep the sand bed fully submerged. Exposing the sand to air can disrupt the delicate balance of beneficial bacteria living within the substrate.
Using the gravel vacuum or siphon
The following are the various steps of using the vacuum or siphon to clean the sand:
1. Placing the vacuum over the sand bed
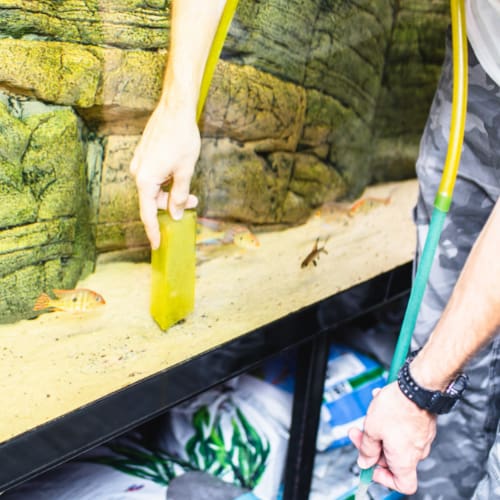
With the water level lowered, position the gravel vacuum or siphon over the sand bed. Start at one end of the aquarium and work your way methodically across the entire substrate surface.
2. Gently stirring the sand to remove debris
As you move the vacuum over the sand, gently stir the substrate using the suction motion of the siphon. This action helps dislodge debris, waste and uneaten food particles that have settled into the sand.
Be careful not to plunge the vacuum too deep into the sand, as this can disrupt the beneficial bacteria colonies.
3. Allowing the vacuum to remove the debris and waste water
The gravel vacuum will simultaneously remove the loosened debris and dirty water, transferring it into the waste bucket. Continue this process until you have covered the entire sand bed, replacing the removed water with fresh, dechlorinated water as needed.
Spot-cleaning specific areas
During the cleaning process, you may notice specific areas of the sand bed that are more heavily soiled than others. These patches often occur in areas with low water flow or where debris tends to accumulate. Give extra attention to these spots, gently agitating the sand to remove the built-up waste.
For hard-to-reach areas or delicate spots near aquarium decor or plants, consider using a turkey baster. This tool allows for targeted cleaning without disturbing the surrounding sand or decor. Simply squeeze the bulb to create a suction force, drawing out the debris and waste.
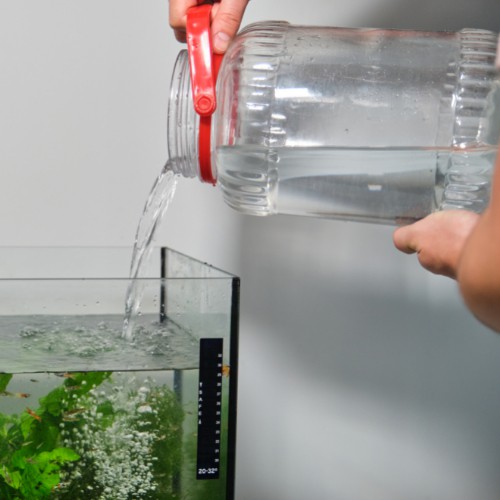
Refilling the aquarium
Once you have finished cleaning the sand bed, it's time to refill the aquarium. Slowly add the dechlorinated replacement water, taking care not to disturb the freshly cleaned sand. You can use a clean cup or a small container to gently pour the water over a flat rock or aquarium decor to minimize sand disturbance.
As you refill the aquarium, periodically check the water temperature using your thermometer. The replacement water should be at the same temperature as the existing aquarium water to avoid shocking your fish and other aquatic life. Adjust the temperature of the replacement water if needed before adding it to the tank.
Post-Cleaning Maintenance
With your aquarium sand now clean and debris-free, it's time to focus on the crucial steps that follow. Post-cleaning maintenance is just as important as the cleaning process itself, ensuring your aquatic pets return to a safe and stable environment.
Reintroducing aquarium inhabitants
To ensure a safe return for your little fishies into the tank, follow the following tips:
Acclimating fish and other aquatic life to the clean tank
Before reintroducing your fish and other aquatic life to the freshly cleaned aquarium, it's essential to acclimate them properly. This process helps them adjust to any slight changes in water temperature or chemistry.
To acclimate your fish:
- Float the container with your fish in the aquarium for about 15 minutes, allowing the water temperatures to equalize.
- Gradually add small amounts of aquarium water to the container every 5 minutes for about 30 minutes.
- Gently release the fish into the aquarium, taking care not to disturb the clean sand bed.
Monitoring their behavior and health
After reintroducing your aquatic pets, closely monitor their behavior and health for the next few hours.
Watch for signs of stress, such as rapid breathing, erratic swimming or loss of appetite. If you notice any concerning symptoms, consult an aquarium expert or veterinarian specializing in aquatic animals.
Restarting filtration and other equipment
Once the pets are safely back in the aquarium, it's time to restart other equipment that ensures their well-being.
Turning on the filter, heater, and air pump
Once your aquarium inhabitants are back in the tank, it's time to restart your filtration system, heater and air pump.
- For the filter, check that all connections are secure and the filter media is properly in place before turning it on.
- When restarting the heater, ensure it's set to the appropriate temperature for your fish species.
- If you have an air pump, check the tubing for any kinks or blockages before plugging it in.
Checking for proper functioning
After turning on your equipment, take a moment to observe if everything is working correctly. Look for these signs:
- Filter: Water should be flowing through the filter, and there should be no leaks or unusual noises.
- Heater: The heater light should be on, and you can use your thermometer to verify that the water temperature is stable.
- Air pump: Bubbles should be consistently rising from the air stone or decoration connected to the pump.
If you notice any issues with your equipment, troubleshoot according to the manufacturer's guidelines or seek assistance from an aquarium professional.
Regular maintenance schedule
Regular maintenance of your aquarium will ensure it is clean and safe for your pets in the long run.
Partial water changes
To keep your aquarium water clean and balanced, perform partial water changes every 1-2 weeks. Remove about 10-20% of the tank water, replacing it with fresh, dechlorinated water.
This practice helps dilute nitrates and other dissolved waste products, promoting a healthier environment for your aquatic pets.
Filter cleaning and replacement
Regularly clean and maintain your filtration system to ensure optimal performance. Some filter media, like sponges or foam pads, can be gently rinsed in old tank water during water changes.
Other media, such as activated carbon or ceramic rings, may need to be replaced every few weeks to months, depending on the manufacturer's recommendations.
Testing water parameters
Invest in a reliable aquarium water test kit and regularly check your tank's ammonia, nitrite, nitrate, and pH levels.
Consistent testing allows you to spot any imbalances early on and take corrective action before they become harmful to your aquatic pets.
Aim to keep ammonia and nitrite levels at zero, nitrates below 20 ppm and maintain a stable pH appropriate for your fish species.
Frequently Asked Questions
Even with the best intentions and a well-executed cleaning routine, you may still encounter some common issues or have lingering questions about maintaining your aquarium sand.
That's why we provided practical solutions and answers to help you keep your aquatic environment in top shape.
What if the sand still looks dirty after cleaning?
If your aquarium sand still appears dirty after a thorough cleaning, there could be a few reasons:
1- Excessive organic waste: If you have a heavily stocked tank or overfeed your fish, organic waste can quickly accumulate, making it difficult to keep the sand clean. Consider reducing your fish population or adjusting your feeding habits.
2- Inadequate filtration: A weak or inappropriate filtration system may not effectively remove debris and waste from the water, leading to a persistently dirty appearance. Upgrade your filter or consider adding a secondary filtration method, like a powerhead or sponge filter, to improve water circulation and cleanliness.
3- Algae growth: Algae can grow on aquarium sand, giving it a dirty or greenish appearance. To combat algae growth, reduce the amount of light your aquarium receives, limit feeding and consider introducing algae-eating creatures like snails or certain fish species.
How often should I clean my aquarium sand?
The frequency of aquarium sand cleaning depends on several factors, such as the size of your tank, the number and type of fish you have and the efficiency of your filtration system.
As a general rule, aim to clean your sand every 2-4 weeks. However, if you notice excessive debris accumulation or signs of poor water quality, like cloudy water or strong odors, you may need to clean more frequently.
Can I use tap water for refilling the aquarium?
While it may be tempting to use tap water for refilling your aquarium after cleaning, it's not recommended. Tap water often contains chlorine, chloramine and other chemicals that can harm your fish and beneficial bacteria.
Always use dechlorinated water or treat tap water with a suitable aquarium water conditioner before adding it to your tank.
Is it necessary to remove all the fish during sand cleaning?
It's not always necessary to remove all your fish during sand cleaning, especially if you're performing a partial clean or spot-cleaning specific areas. However, if you're doing a deep clean or have sensitive fish species, it's best to remove them to minimize stress and avoid any potential harm from the cleaning process.
What are some signs that my aquarium sand needs cleaning?
Keep an eye out for these signs that indicate your aquarium sand needs attention:
- Visible debris, waste or uneaten food accumulating on the sand surface
- Cloudy or discolored water
- Strong odors emanating from the aquarium
- Increased algae growth on the sand or tank walls
- Fish showing signs of stress or illness, such as lethargy or loss of appetite
How do I prevent sand from getting into my aquarium filter?
To prevent sand from entering and potentially damaging your aquarium filter, choose a filter with an intake tube that sits well above the sand bed, or use a pre-filter sponge on the intake to catch any stray sand particles.
When refilling your tank after cleaning, pour the water slowly and gently to avoid disturbing the sand and causing it to float into the filter.
If you have a hang-on-back or canister filter, position the outflow nozzle, so it doesn't point directly at the sand bed, minimizing sand movement.
Can I use a regular vacuum cleaner to clean my aquarium sand?
No, you should never use a regular household vacuum cleaner to clean your aquarium sand. These vacuums are not designed for use in water and can introduce harmful chemicals or contaminants into your tank. Always use a dedicated aquarium gravel vacuum or siphon specifically made for cleaning aquarium substrates.
What is the best type of sand for an aquarium?
The best type of sand for your aquarium depends on the specific needs of your fish and the aesthetic you prefer.
Some very popular options include play sand, pool filter sand, aragonite sand, and Black diamond blasting sand.
How much sand should I use in my aquarium?
As a general guideline, aim for a sand bed depth of about 1-2 inches for most aquariums. This depth provides ample space for beneficial bacteria to colonize and allows for easy maintenance.
In larger tanks or those with special requirements, like a deep sand bed for certain species, you may need a deeper substrate layer.
Can I clean my aquarium sand without removing it from the tank?
Yes, you can clean your aquarium sand without removing it from the tank. The process described above, using a gravel vacuum or siphon, is designed to clean the sand while it remains in the aquarium.
This method is less disruptive to your aquatic environment and helps maintain the beneficial bacteria population in the substrate.
Final Thoughts
A clean substrate is crucial for the overall health and well-being of your aquatic environment. It promotes a healthy nitrogen cycle, prevents the build-up of harmful toxins and bacteria and reduces stress on your fish and other aquatic life.
To maintain a thriving aquarium, make sand cleaning a regular part of your tank maintenance routine every 2-4 weeks. With practice and persistence, you'll become a pro at keeping your aquatic environment pristine.
If you still have questions or comments, please contact us.
Happy cleaning!